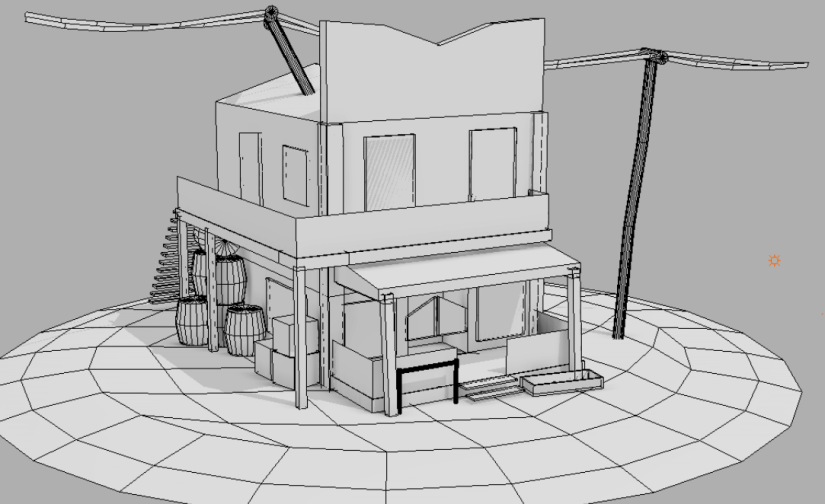
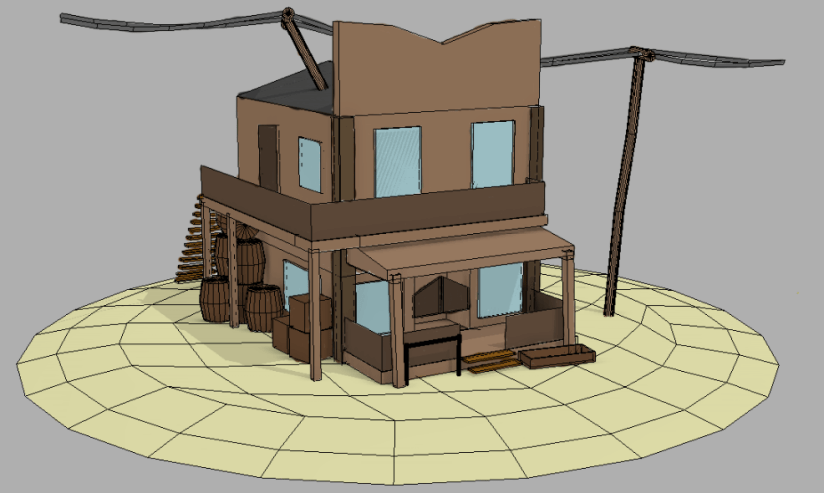
Here is the Blockout that I have been making in my 3D modelling sessions I was using this to trace over to produce what you can see bellow. I am going to be using either this Blockout or the low poly version that I am currently creating in my game to add some detail in the environment.
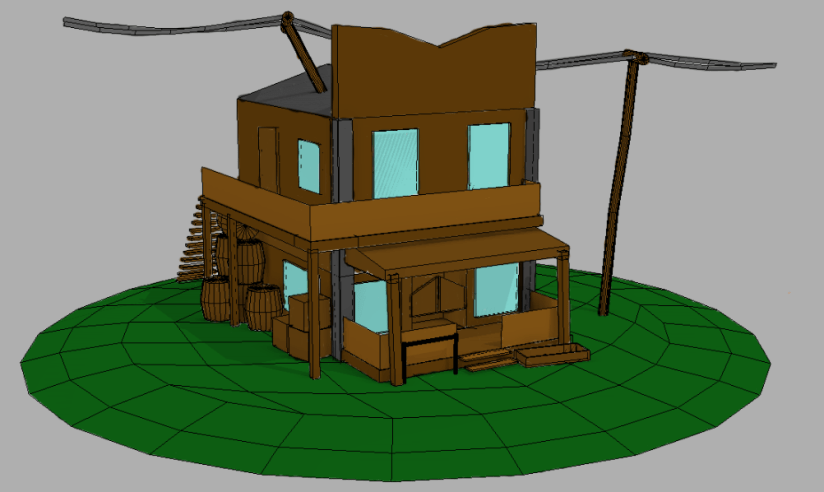
We did a session on tracing over my Blockout of a saloon that I have been creating in my 3D sessions and adding colour ideas for research purposes here are one of my products with colour. I have used a saturated dark brown on that walls with dark brown support beams and a Brown sign to add a hand crafted wooden feel to the building. I have also put a dark gray stony colour on the corner of the building to separate it a little bit from the rest of the building. There is a lighter brown on the hand rails on the Balcony and porch. The base is a dark green grass. I have created this to help me when I am texturing the model for my game so that I know what colour I want where.
After not being happy with my first idea I decided to look at some wood colour palettes on the internet and found this one that I liked the look of. After finding this palette i decided to recreate the image above but using these colours instead of the browns, Grays and Greens that I used previously as I thought that the previous idea looked too saturated and solid and I wanted a pale and rough style to the design. I also wanted to change where the building is set as I did not think the grass suited the building.
Here is the saloon colour idea that I created using the colour palette I found above. I used the first light sandy wood for the base to make it look like the building was built in a desert or a sand dune. I used the second and third wood plank for the main parts of the building like the walls and floors for the porch and balcony. The last colour was used for the railings for the porch and used for the corner supports on the building. I used the under-saturated wood colours to help with creating the hand made old western feel to the building.
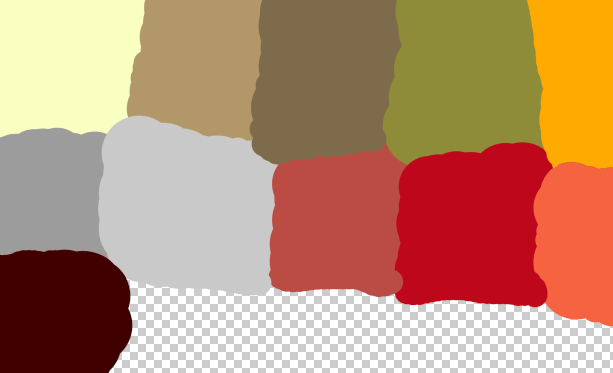
Here is a palette of colours that I am going to be using as a reference for my buildings, Guns, Characters and environment for my game. I have chosen these colours as after researching some western games such as red dead redemption 2. most of these colours are browns, reds, and grays with a few exceptions, sandy yellow, golden yellow, and a olive green.
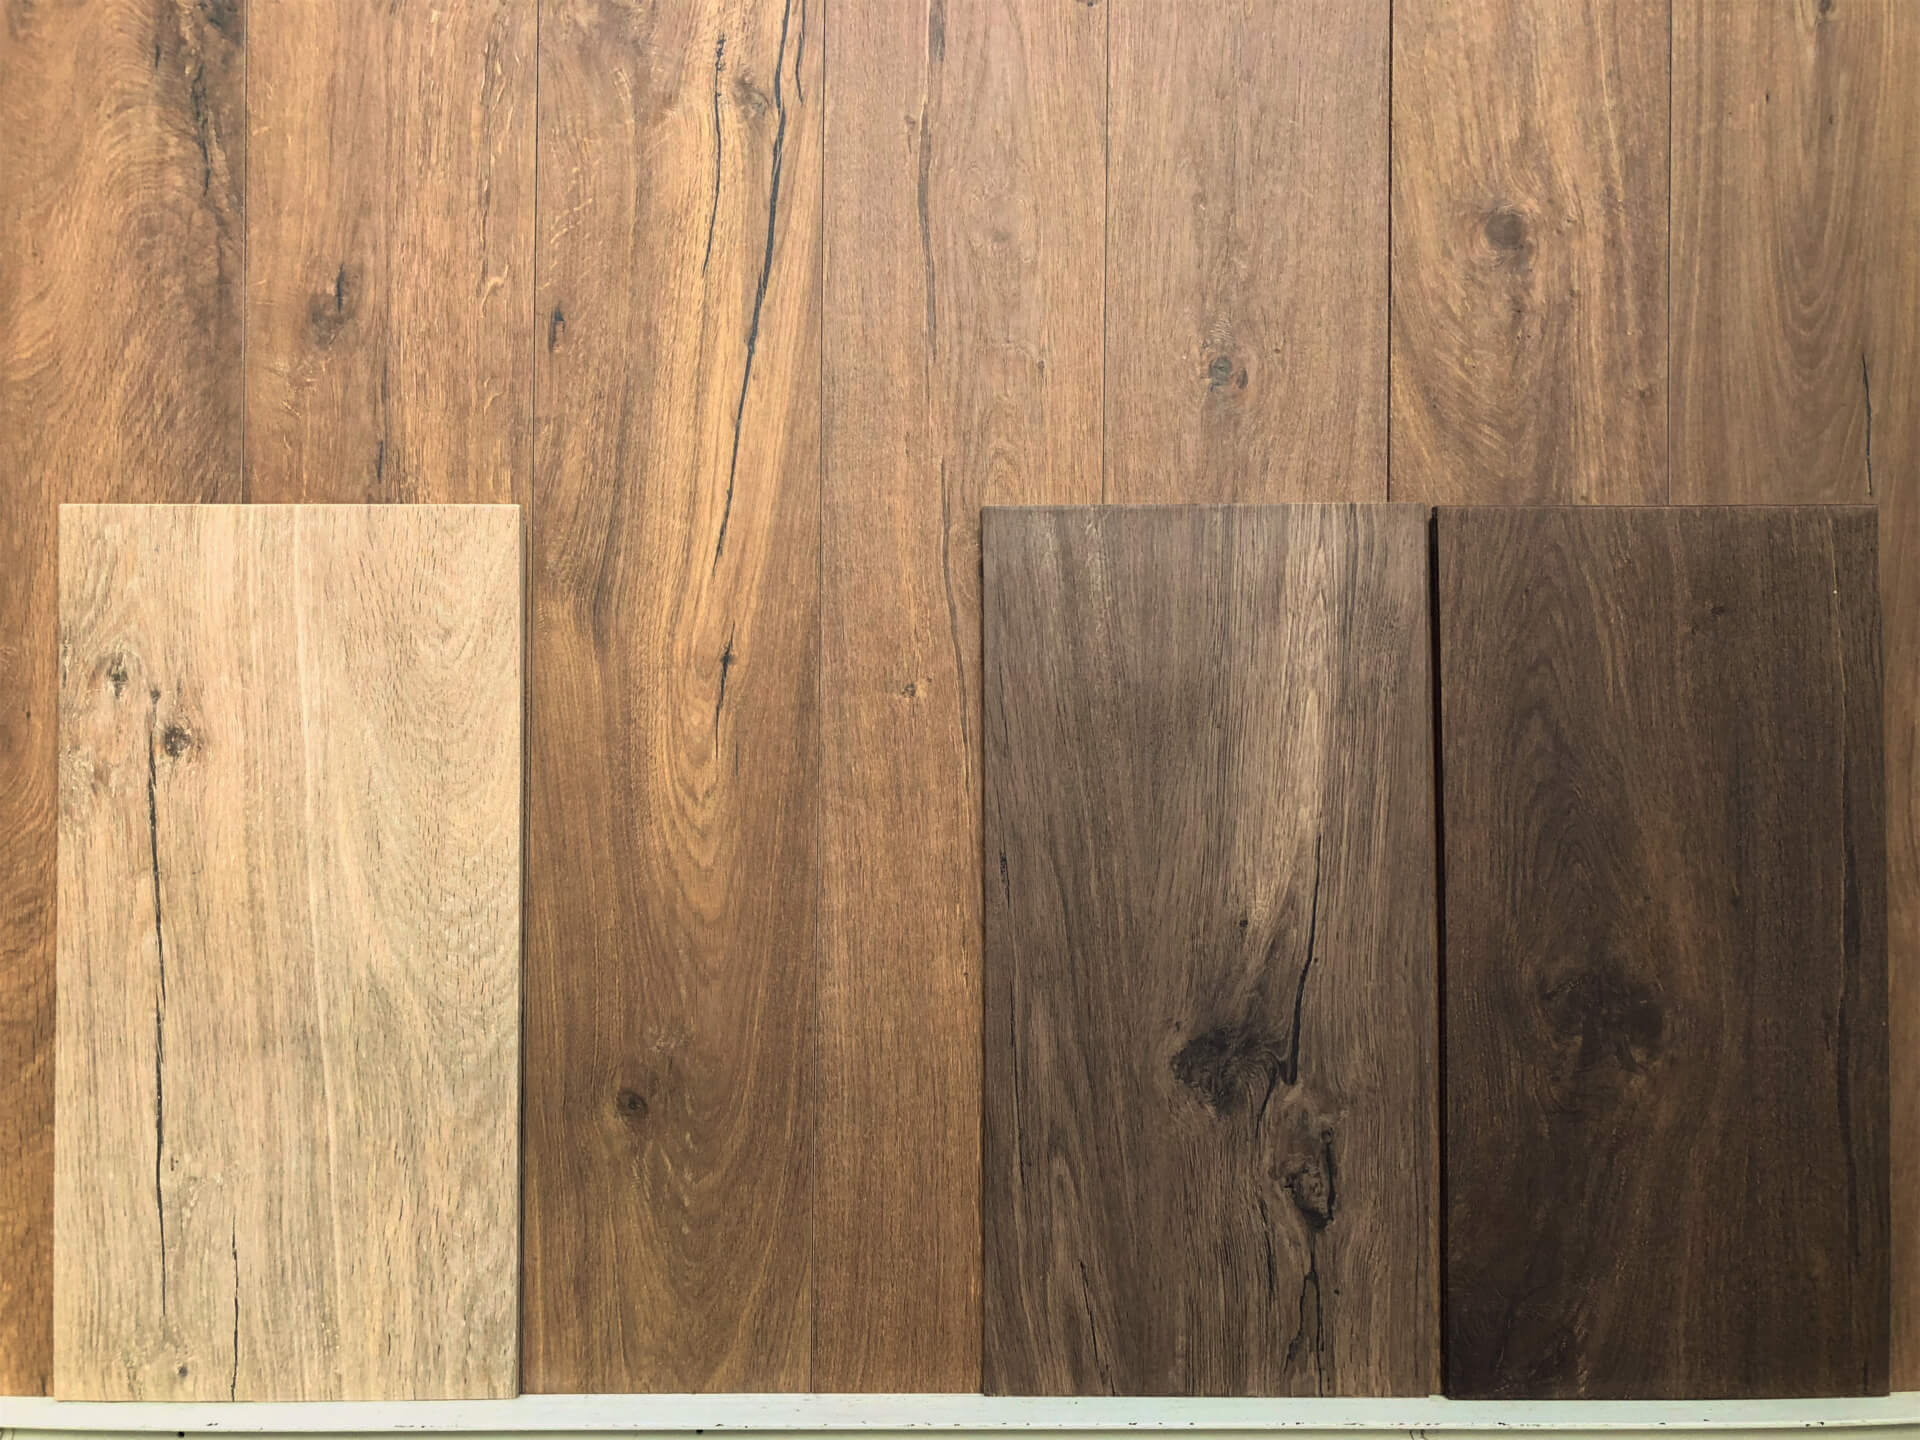
Here are a bunch of different wooden textures that i am using as reference for the colours of the building i am going to be using as not all of the buildings that i am going to use are textured properly so I will need to complete the textures and reapply the textures to the assets with missing or broken textures. This is going to help me re-texture the models because i can use the wood textures as reference to help me.

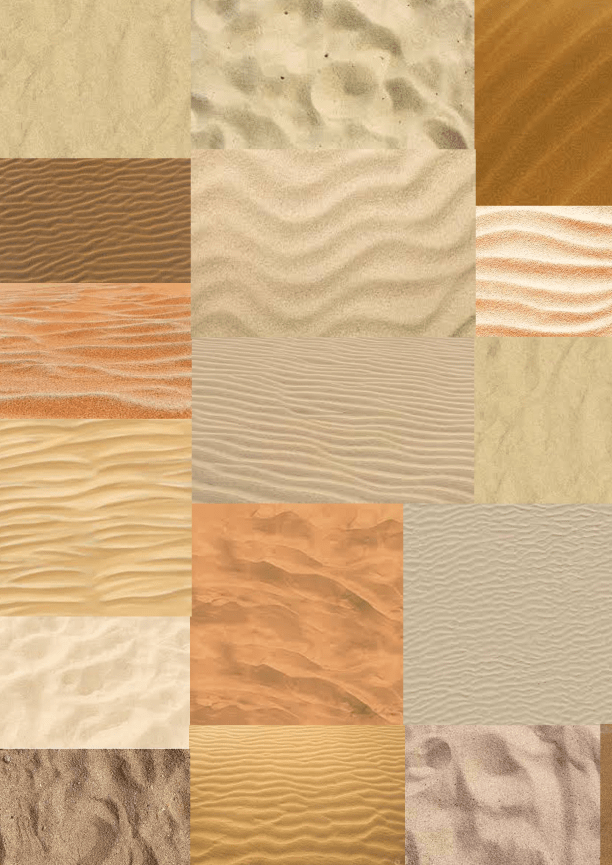
Here is a mood board of different sand textures. This mood board is going to be needed when I am creating the background of my game as my game is going to be set in a town in a desert dune. This Mood board is going to be helpful to me when I need to get some ideas for creating the desert background that my game is going to be set in and the town is going to be surrounded by.
Here is a model of a revolver that i have found and might use for my final product. I like this model because it has a nice and simple design with a stylized texture to make it look a slight bit cartoon-like, The main issue with using this for my western games is that I do not really want a cartoon look to the game as I want it to appeal to a older audience. I also do not think a cartoon look would suit my game as it is supposed to be a shooting action game although would be good if it was more of a family game.

Here is another Model of a revolver that I liked the look of. I like this model more than the first one that I found as it does not look as Cartoon-like as the first one, although I am not too keen on the curve of the wooden handle of the revolver as I think the curve is slightly too sharp of a curve. I might use this model in my final product as it is quite nice looking and I think that it might suit the game a little more.

Here is a third revolver model that I have found online. I like this model because i think think that the textures are good looking and i like the design of the model but I don’t think I will use this model for my game as it is not really a western revolver it looks like a more modern revolver therefore it would not suit my game as my game is a western shooter not a modern shooter although I might consider using this for future projects that I might want as revolver for.

Here is a saloon model that I am going to be using in my final product. This model was created by my classmate Luke Marsh (Sketchfab: sketchfab.com/LukeMarsh201). I am going to be using this in my enviroment add a western feel to the setting of the game. I am going to be this model because I like who it looks and it it to scale with the character meshes in UE4. It also comes with different western clutter including the crates barrels and other items.
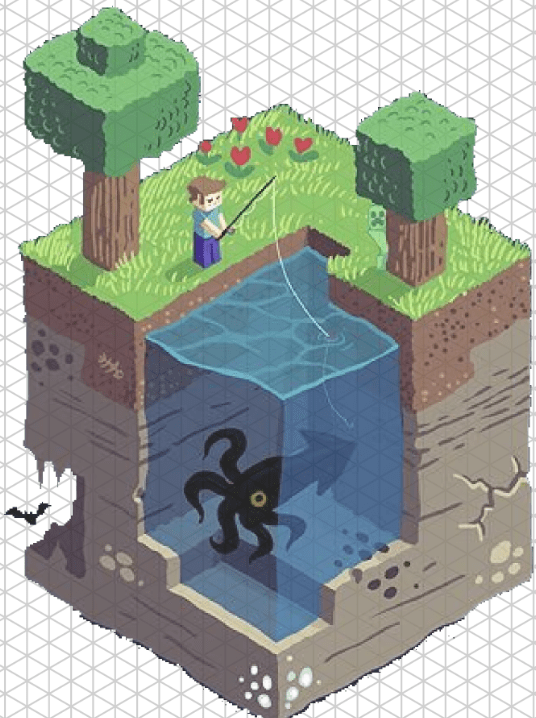
I did a session where I got given an isometric picture and a grid and had to copy the picture using the isometric grid that we had been given. Here is what I created during this session.
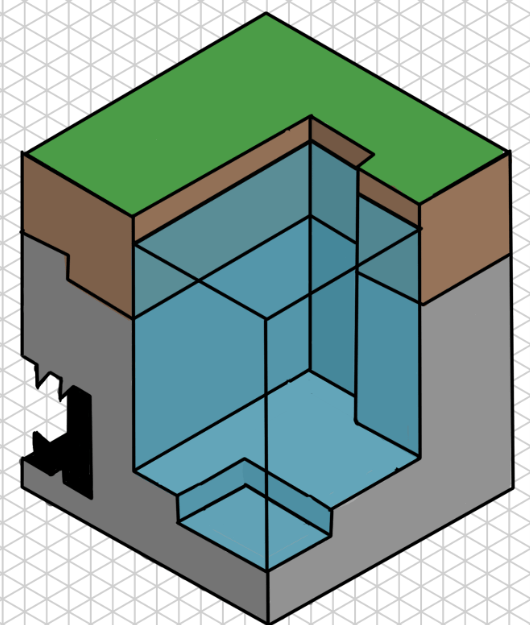
Here is the picture that I copied above it has been created in an isometric style and it is a Minecraft scene with some trees a player, flowers and a creeper on the surface. On the sides there are also some ores, Cracks and a cave, there is also a pond on one of the corners with a large squid swimming in it.
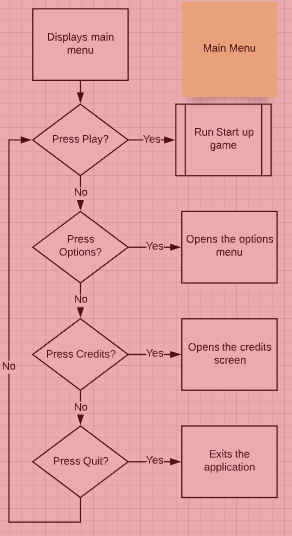
Here is a flow chart for the main menu of my game it shows what buttons will be on the menu (Play, Options, Credits, Quit) and what happens after you press them, for example when you press the options button the options menu will open up. This will help me when I am creating the main menu for my game.
Here is a flowchart of what happens after the player presses the play button. This flow chart will help me when creating the game to make sure I do not forget any steps and do them all in the correct order.

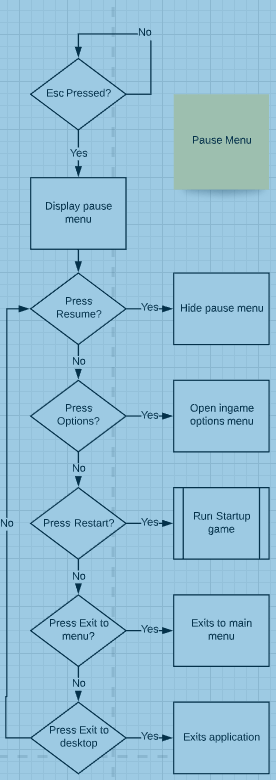
Here is a flowchart for my mid-game pause menu in my game. This menu will allow the player to change small options mid-game and exit to the menu or desktop. This flowchart will help me when I am designing the menu screens so that I don’t forget an option.
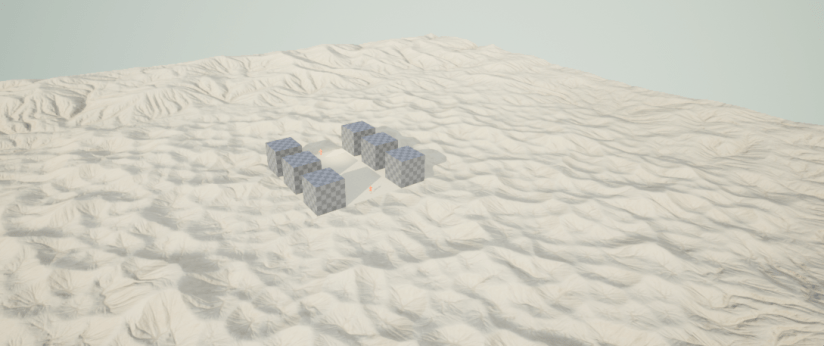
Here is a blockout of my level, I have used UE4’s blockout tools to help me create this I have also put in the mesh for the player model that i am going to be using for the character. It features the players surrounded by various buildings in a western town I am also going to put some mountainous landscape in the background for some detail.
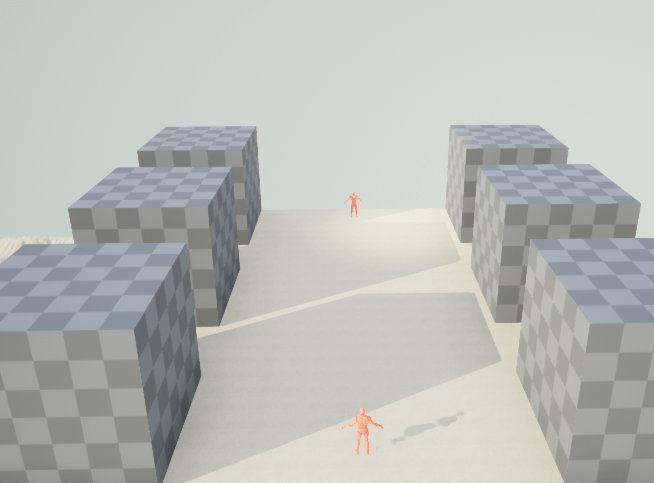
Here is the Blockout from above but with a royalty free desert background that i found on the unreal marketplace. I have used this background as the theme of western is commonly associated with deserts. I am going to use this background for my final product as I like how it looks although I do not like how small the area in the center is as it does not allow for much to be put there.
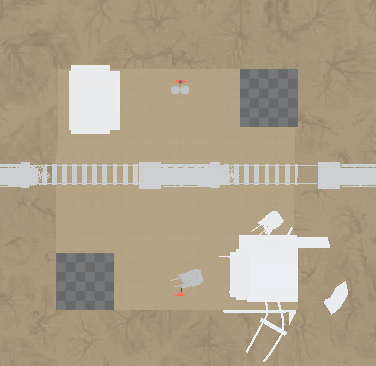
Here is a more Developed level design for my game. It features a saloon in the bottom right corner that I have been allowed to use by my classmate Luke Marsh his sketchfab account can be found Here. In the top left corner there is a western shack that I have also found on sketchfab and can be found Here. Running through the middle of the map there is a moving train that goes from the left of the map to the right of the map every two seconds and disappears after ten seconds I have also found this train on sketchfab and can be found Here . The players can be found in the middle at both the top and bottom of the map, both players have some sort of cover in front of them these models came with the saloon that i have been given from my classmate.
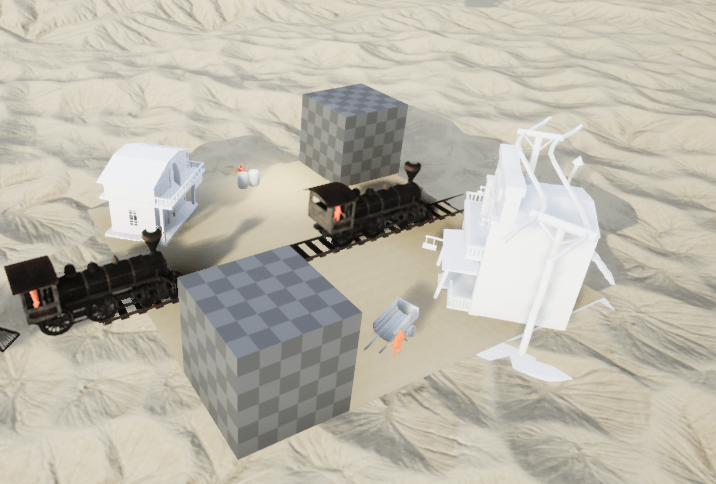
Here is a closer look of my developed blockout for my level that I am creating for my Western themed game. In this photo I have textured the train and the track that the train travels on. I have added the train to add a slight bit of challenge when the player is shooting because they have to avoid the train and still fire before the other player. Both player spawn points are visible in between the buildings and behind their cover. Each player has been positioned opposite each other because they will be in a stand off situation and you are not able to aim with a Buzz controller.
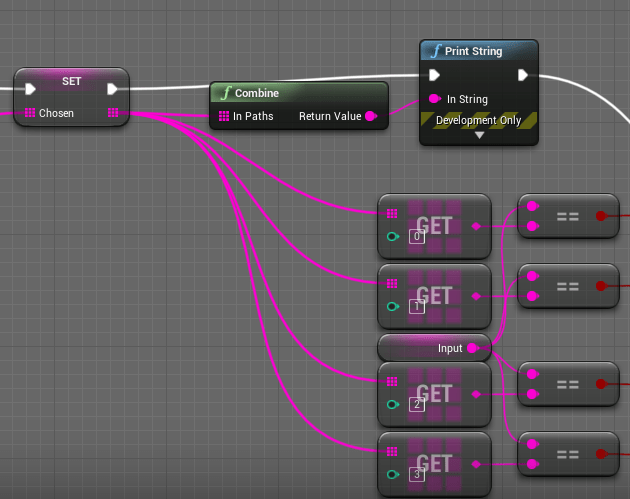
Here is some experiment code that I have made in UE4 to test how the inputting of the buttons will work. First the program waits for the player to input any of the B,O,G,Y keys, After the player inputs one of these it checks if the inputted character matches the one generated.
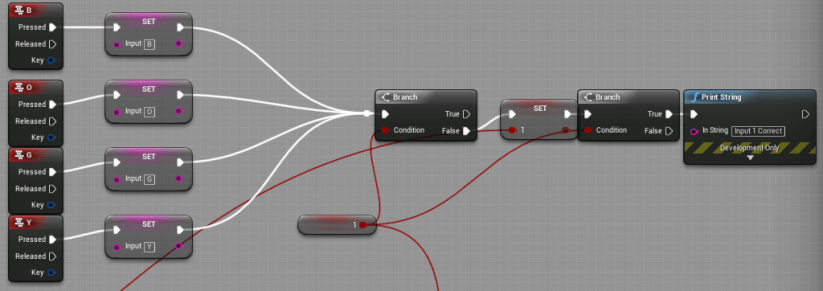
Here is some more experimental code, This is the part of the bluprint that cross checks the input from the with the randomly generated code that the program has generated and if the input is correct it allows the code above to run without any issues.
This is some more experimental code, This part of the blueprint is what handles the firing of the gun after the code has been inputted correctly, If the code has been inputted correctly and the fire key has been pressed it will show the partical effect for the muzzle flash of the gun after firing and plays the firing sound, This will also kill the other player in the future

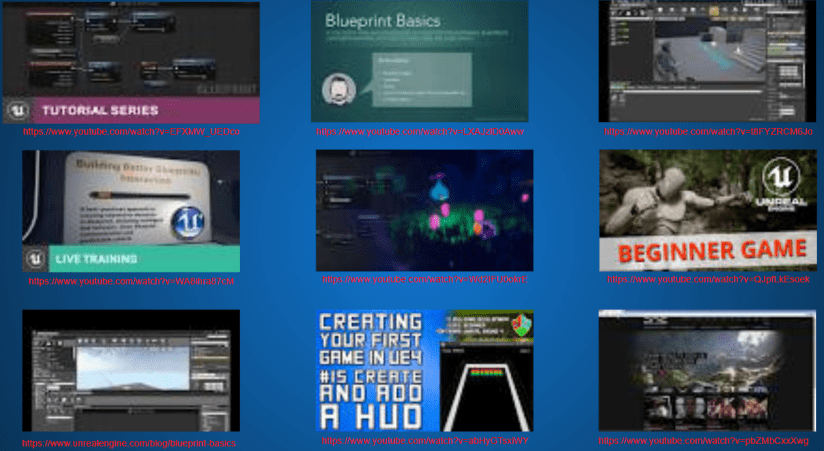
Here is a mood board On different UE4 blueprint tutorials. This mood board is going to be useful for when i am creating the blueprint code for my game as i am still fairly new to the UE4 blueprint system as i have not had enough time to properly get used to it yet. It consists of different types of tutorials that i have found mainly on YouTube.
-
https://www.youtube.com/watch?v=EFXMW_UEDco
-
https://www.youtube.com/watch?v=LXAJzlD0Aww
-
https://www.youtube.com/watch?v=t8FYZRCM6Jo
-
https://www.youtube.com/watch?v=WA8ihra87cM
-
https://www.youtube.com/watch?v=Wd2IFU0okrE
-
https://www.youtube.com/watch?v=QJpfLkEsoek
-
https://www.unrealengine.com/blog/blueprint-basics
-
https://www.youtube.com/watch?v=abHyGTsxiWY
-
https://www.youtube.com/watch?v=pbZMbCxxXwg
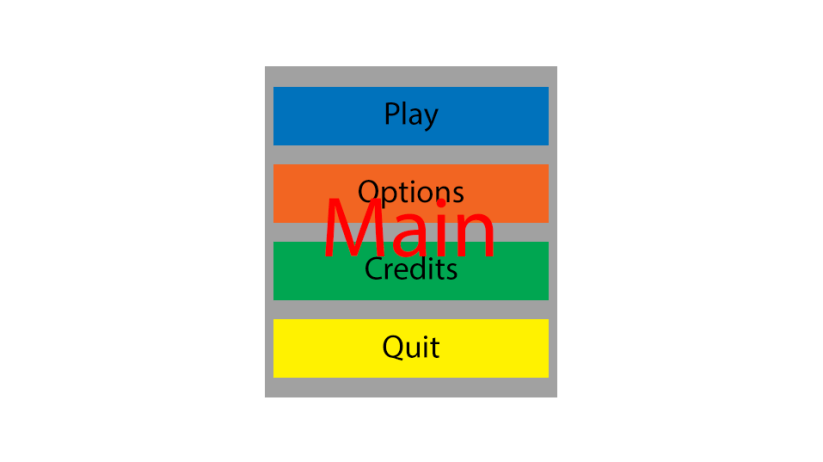
Here is a design for my main menu of my game, If features a Play button to allow the player to begin the game, A options button so that the player is able to access the different options for graphics, sounds and Music volume. There is also a Credits button so that all the people that have helped to create the game get mentioned and the credit they deserve. And finally there is a Quit button so the player can exit the application easily and go to their desktop. All of the buttons are appropriately colored so that if people are using the Buzz controllers like recommended they do not have to use they mouse or keyboard .
Here is a design for a pause menu design idea that I have created to help me with creating the menu when I need to, it consists of A Resume button so that the player is able to continue playing the game after they paused it, A Restart button so that the player is able to restart the game from the beginning if they need to, there is also a options button so that the player can change a few options while mid game not all options are going to be changeable as they might create some issues while mid-game, there is also a Exit To Menu option so that the player is able to exit the game and go to the main menu and exit the game, start a different game-mode or change a option.

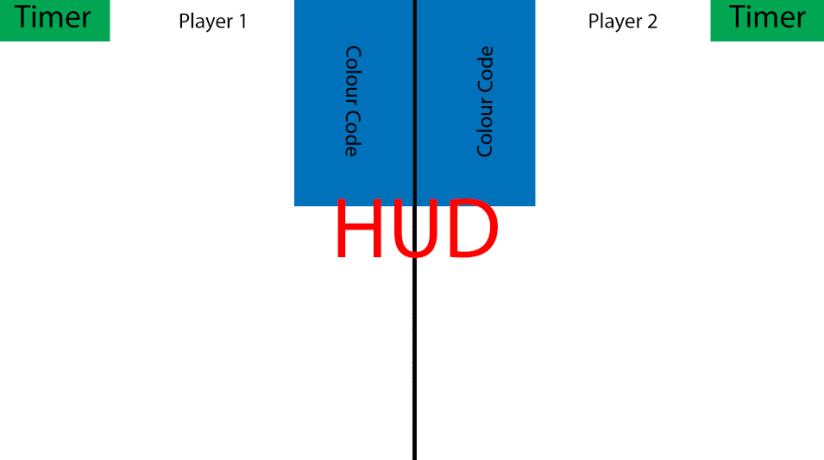
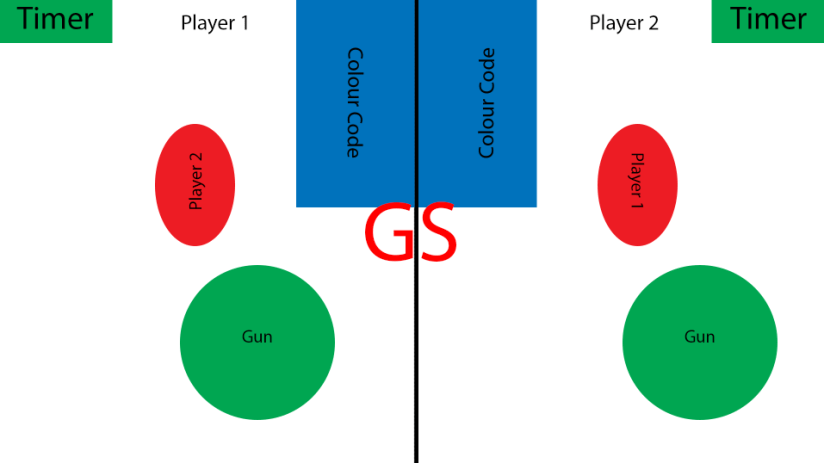
Here is a UI design idea for the in-game HUD(Heads Up Display). It consists of A split down the center of the screen so that both players can see there side of the game, There is also a color code on each side of the screen as each player will have a separate colour code that they have to input so that they can shoot the other player and win the game, In the corner there is a Timer on each side so that the player can see how long they have taken to input there colour code as the player will not fire until all players have inputted and then the fastest player will be able to fire and win.
Here is a design for the game screen after the player has started playing. It features a split down the middle for two players, A timer in the top corners, A colour code for each player, The player is also going to be able to see the other player in the distance so that they can shoot them after completing their colour code. The players gun is also going to be visible at the bottom of the screen so that they are able to shoot the other player the gun will not be able to shoot until the colour code has been correctly inputted.
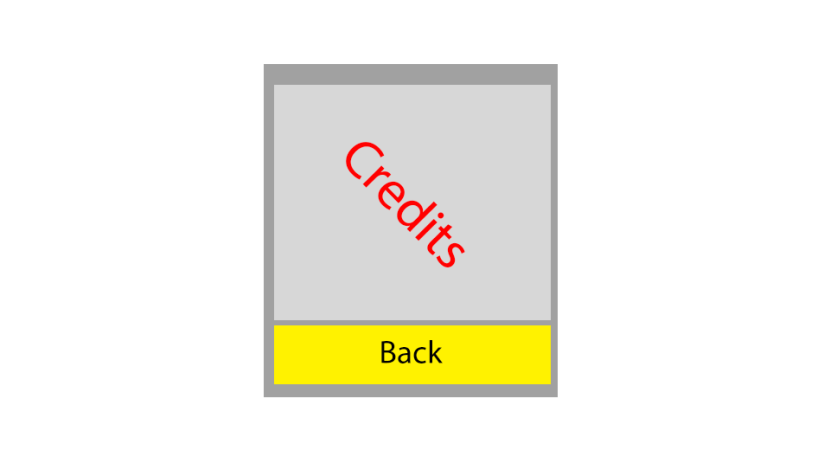
Here is a design for a credits menu, This menu will be made so that the creators of all the assets that I did not create get properly credited. It consists of a list of the names of the people that created each model and asset that I did not personally create, It will also feature a link to each persons asset so that others are able to look at the models and look at other work created by the same person. It also consists of a yellow Back button so that players using Buzz controllers are able to navigate the menu without having to use their keyboard.